A while back, Susann Tegtmeier and Mirjam ran a PerLe teaching innovation project together. Today, we are reposting a blog post about one of the experiments they implemented. This post was first published on Mirjam’s blog.
No one likes clouds when they bring rain, but what if you could make your own? Making a cloud inside a bottle will help us to understand how they are formed in the atmosphere. The experiment demonstrates how changes in air pressure, temperature and volume are related and how these changes can lead to the sudden appearance of tiny water droplets, or in other words, lead to the formation of a cloud.
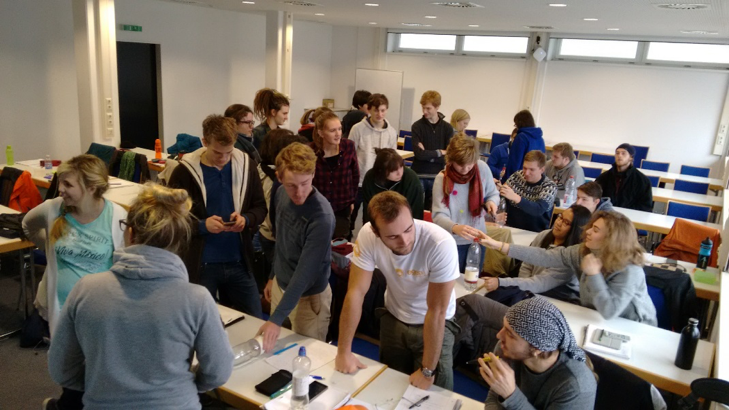
You can do the experiment alone at home, in front of a classroom or as a hands-on experiment with all your students. I have chosen the latter option as part of my ‘Introduction to meteorology’ lecture for the first-year students in the Bachelor program ‘Physics of the Earth System’. For this class, Mirjam and I received funding from our university’s PerLe project for teaching innovations. We use the PerLe funding to consolidate the student’s physical-based understanding of the climate system through various experiments, exercises and discussions.
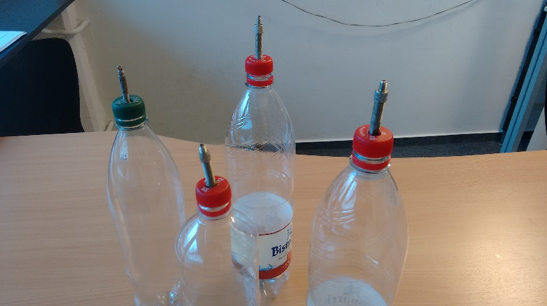
For the experiment you need an air-tight, transparent container that you can pump up with air (in order to increase the pressure inside the bottle). We made a simple version using materials from home including a plastic water bottle supplemented with valve from a bike tire that is attached between the bottle and the cap. Furthermore you need a pump (in our case a bike pump), water and matches.
During the first round of the experiment, the students pumped up the bottles enhancing the pressure inside. During our discussion before the experiment, the students assumed correctly that the bottles would warm due to the enhanced pressure under a constant volume. By putting their hands around the bottles, it was possible for the students to feel that indeed the air inside the bottles was warming. When opening the valve slowly the opposite effect could be noticed and the bottles cooled very quickly. While the temperature change is small, it turned out to be quite fascinating and memorable for the students to see and feel the ideal gas law, they learned about earlier in class, in real life action.
During the second round of the experiment, the pumping up of the bottles was repeated, but this time with a small amount of water in the bottles. Since warm air can take up more water vapor than cold air, some of the water in the bottle was evaporated during the increase of pressure and temperature. While we discussed this effect during the experiment, it was, of course, not possible to observe the formation of the invisible water vapor. The next step of the experiment, the opening of the valve and the accompanying cooling of air, can theoretically lead to the condensation of the above discussed water vapor back to water. However, to the surprise of the students, no condensing little water droplets could be seen in the bottles.

In order to lift the mystery, we carried out the third part of the experiment. With the bottle open, we lit a match and a moment later threw the blown out, smoking match into the bottle. Now the bottle needs be closed quickly before the same action (pumping of bottles and opening of valve) can be repeated. Only in this last round of the experiment, the expected water droplets became visible while the air was cooling. The reason is that small condensation nuclei are necessary for water vapor to condense and form water droplets. The experiment demonstrates this effect quite nicely in the bottle, but it also holds on large scales for the formation of atmospheric clouds.
The ‘Cloud in a bottle’ experiment is a perfect class room exercise, as it leads the students within 30 min from the basic, physical principles of the ideal gas law to one of the big climate effects, the aerosol – cloud interaction.